
Embarking on a culinary journey to explore the quintessential Indian flatbread, chapati, unfolds a tale of simplicity, tradition, and nourishment. This article delves into the art of chapati making, from the basic ingredients and tools required, through a detailed step-by-step guide, to the science that makes them soft and fluffy. Alongside, we’ll uncover the nutritional information that makes chapati a healthy choice, share professional tips for perfecting your chapatis, and suggest ways to turn chapati making into a delightful family activity. We’ll also answer some frequently asked questions in the Chapati Recipe FAQ section and wrap up with a conclusion that ties everything together. Whether you’re a novice eager to try your hand at this traditional Indian cooking technique or a seasoned cook looking to refine your skills, this guide promises to equip you with everything you need to know about making chapatis that are as nutritious as they are delicious.
For those interested in exploring more about the ingredients used in chapati, consider reading our detailed analysis on The Health Benefits of Whole Wheat Flour, which dives deep into why whole wheat is a staple in healthy diets.
Introduction to Chapati
Chapati, a staple in many Indian households, is more than just a piece of bread. It’s a symbol of shared meals, a carrier of flavors, and a testament to the simplicity of Indian cooking. Made from whole wheat flour, water, and a touch of oil, this unleavened bread boasts a soft, pliable texture that pairs wonderfully with a variety of dishes, from rich curries to simple dals. The beauty of chapati lies in its simplicity and the technique involved in its making, which, once mastered, can transform the humble ingredients into something truly special.
The Cultural Significance
Chapati isn’t just food; it’s a piece of cultural heritage, passed down through generations. Each roll, each flip on the tawa, tells a story of tradition, of families gathering around the dinner table, sharing their day’s experiences over a meal. In many ways, chapati is more than sustenance; it’s a way of bringing people together, making it a cherished part of meals across the subcontinent.
The Versatility of Chapati
What sets chapati apart is its incredible versatility. It can be a blank canvas for a variety of toppings, a scoop for gravies, or even turned into a wrap for a quick, nutritious meal. Its mild flavor complements both spicy and subtle dishes, making it a staple that never gets old.
In the following sections, we’ll dive deeper into what makes chapati such a beloved part of Indian cuisine, exploring the ingredients and tools you’ll need, the steps to making it, and the secrets to getting it just right, every time. So, let’s get started on this flavorful journey, shall we?
For enthusiasts looking to pair their chapatis with the perfect dish, check out our collection of Authentic Indian Curry Recipes that can elevate your chapati experience to new heights.
The Cultural Significance
Chapati isn’t just food; it’s a piece of cultural heritage, passed down through generations. Each roll, each flip on the tawa, tells a story of tradition, of families gathering around the dinner table, sharing their day’s experiences over a meal. In many ways, chapati is more than sustenance; it’s a way of bringing people together, making it a cherished part of meals across the subcontinent.
The Versatility of Chapati
What sets chapati apart is its incredible versatility. It can be a blank canvas for a variety of toppings, a scoop for gravies, or even turned into a wrap for a quick, nutritious meal. Its mild flavor complements both spicy and subtle dishes, making it a staple that never gets old.
In the following sections, we’ll dive deeper into what makes chapati such a beloved part of Indian cuisine, exploring the ingredients and tools you’ll need, the steps to making it, and the secrets to getting it just right, every time. So, let’s get started on this flavorful journey, shall we?
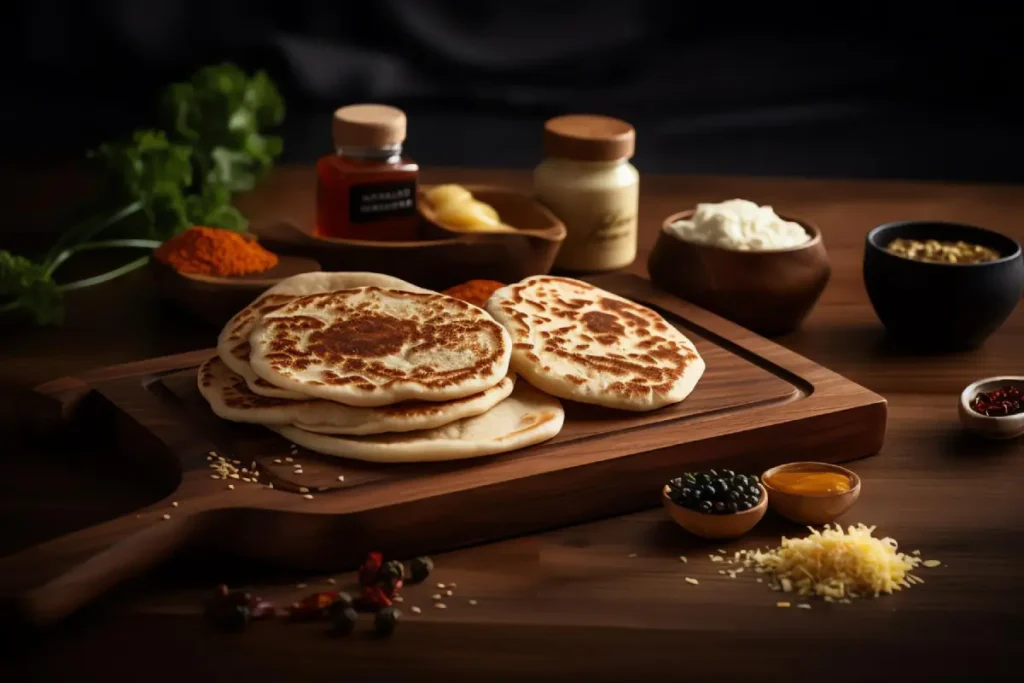
Essential Ingredients for Chapati Recipe
The magic of chapati lies in its simplicity. With just a handful of ingredients, you can create a warm, soft flatbread that’s both nutritious and delicious. Let’s break down the essentials:
Whole Wheat Flour: The Foundation
The star of the show is whole wheat flour, also known as atta. This flour is the backbone of chapati, giving it its distinctive taste and texture. Opting for stone-ground whole wheat flour can enhance the nutritional profile, offering a good dose of fiber, vitamins, and minerals.
Water: The Hydrator
Water activates the gluten in the flour, helping to bind the dough. The temperature of the water can vary—some prefer it warm to make the dough softer and easier to handle, while others use it at room temperature. The key is to add it gradually, ensuring the dough reaches the perfect consistency.
Oil or Ghee: For Softness
A touch of oil or ghee (clarified butter) is often added to the dough to enrich the flavor and texture of the chapati. While this is optional, it can make the chapatis softer and add a subtle richness that elevates the overall taste.
Salt: A Flavor Enhancer
A pinch of salt can be added to taste, enhancing the natural flavors of the chapati. Though minimal, it makes a noticeable difference in the final product.
Tools and Equipment
The tools needed for chapati making are simple and likely already in your kitchen:
Mixing Bowl
A large mixing bowl is essential for combining the flour, water, oil, and salt to form the dough.
Rolling Pin and Board
A rolling pin and a flat surface or board are crucial for rolling out the dough into thin, even circles.
Tawa or Skillet
A tawa (an Indian flat pan) or a heavy-bottomed skillet is used to cook the chapatis, giving them their characteristic soft yet slightly crispy texture.
Additional Tools
A clean kitchen towel or muslin cloth can be handy for covering the dough as it rests, keeping it moist and pliable.
Step-by-Step Chapati Recipe Making Guide
Making chapati is an art, but with a bit of practice, anyone can master it. Follow this step-by-step guide to create soft, fluffy chapatis that will be a hit at any meal.
Preparing the Dough
- Measure and Mix: Start by measuring 2 cups of whole wheat flour into your mixing bowl. Add a pinch of salt and, if using, a tablespoon of oil or ghee for extra softness. Gradually add water, mixing with your hand or a spoon, until the dough starts to come together.
- Knead: Once the dough has formed, knead it on a lightly floured surface for about 5-10 minutes until it’s smooth and elastic. If the dough is sticky, add a little more flour; if it’s too dry, add a bit more water. The perfect dough should be soft but not sticky.
- Rest: Cover the dough with a damp cloth and let it rest for at least 30 minutes. This resting period allows the gluten to relax, making the dough easier to roll out.
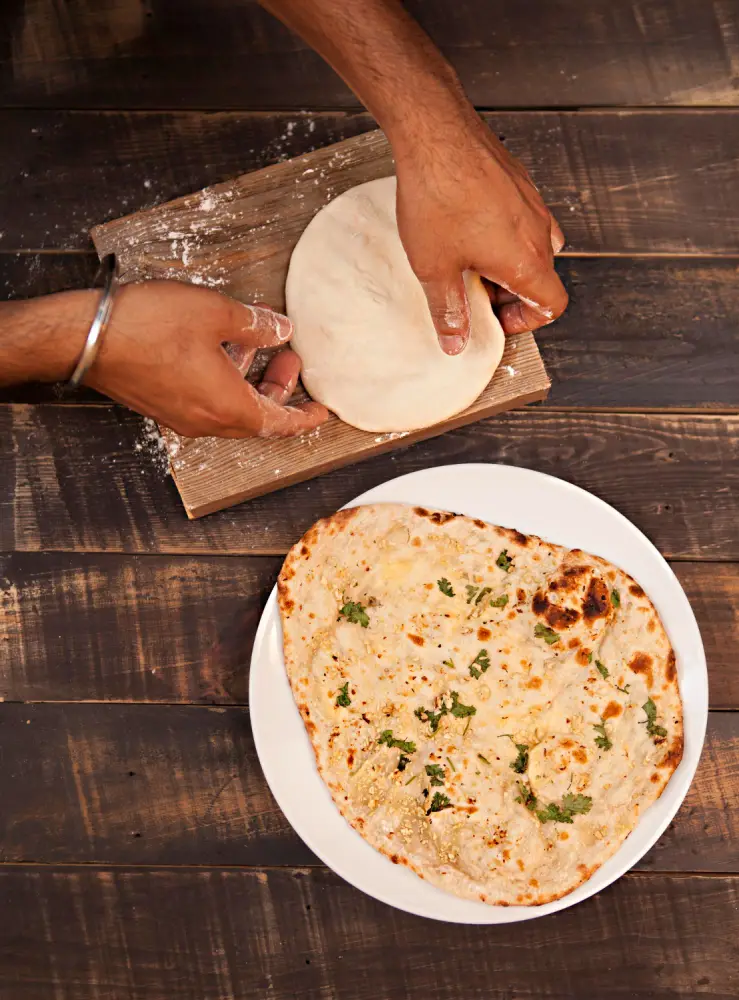
Rolling the Chapati Recipe
- Divide the Dough: After resting, divide the dough into equal-sized balls, about the size of a golf ball.
- Roll Out: Take one ball of dough, flatten it slightly, and dust it with flour. Using a rolling pin, roll it out on a flat surface into a thin, round chapati. Aim for a thickness of about 1-2 mm. If the dough sticks to the rolling pin or surface, dust it lightly with more flour.
Cooking the Chapati Recipe
- Heat the Tawa: Place your tawa or skillet over medium-high heat. Once hot, place the rolled-out chapati on the tawa.
- Cook: After a few seconds, you’ll notice small bubbles forming on the surface. Flip the chapati. Once the other side shows bubbles, press gently with a cloth or spatula to encourage the chapati to puff up. Flip again, if necessary, until both sides are golden brown with some darker spots.
- Serve Warm: Transfer the cooked chapati to a plate and cover with a clean cloth to keep them soft. Serve warm with your choice of curry, dal, or vegetable dish.
The Science Behind Soft Chapatis
The secret to soft chapatis lies in the gluten development in the dough and the moisture content. Kneading the dough adequately develops the gluten, giving the chapati its structure and elasticity. Resting the dough allows the gluten strands to relax, making it easier to roll out thin chapatis. The water content in the dough and the cooking temperature also play crucial roles. Too little water results in dry, hard chapatis, while too much can make them tough. Cooking on a properly heated tawa ensures that the chapati cooks quickly, trapping steam inside to create the characteristic puff.
Nutritional Information
The Chapati Recipe, a staple in many diets across the Indian subcontinent, are not just a delight to the palate but also pack a nutritional punch. Made primarily from whole wheat flour, chapatis offer a wholesome alternative to refined breads, providing essential nutrients in every bite.
Whole Wheat Flour: A Nutrient Powerhouse
Whole wheat flour, the main ingredient in chapatis, is rich in dietary fiber, which aids in digestion and promotes a feeling of fullness, helping in weight management. It’s also a good source of protein, essential for building and repairing tissues.
Vitamins and Minerals Galore
Chapati Recipe provide a spectrum of vitamins and minerals, including B vitamins (especially niacin, B1, and B6), which are crucial for energy metabolism and nervous system health. Minerals such as iron, magnesium, and phosphorus found in whole wheat flour contribute to hemoglobin formation, muscle function, and bone health.
Low in Fat, High in Health
With minimal oil or ghee used in the dough, chapatis are low in saturated fats, making them a heart-healthy choice. The optional addition of oil or ghee can increase the caloric content, but when used sparingly, it adds a dose of healthy fats without tipping the scales.
Professional Tips for Perfect Chapati Recipe
Achieving the perfect chapati is a skill honed over time, but a few professional tips can elevate your chapati-making game from the get-go:
- Water Temperature: Warm water can make the dough softer and more pliable, making it easier to roll out thin chapatis.
- Kneading: The key to soft chapatis is in the kneading. A well-kneaded dough, smooth and elastic, is essential. Don’t shy away from spending those extra minutes kneading.
- Resting the Dough: Allowing the dough to rest is crucial. This step hydrates the flour and relaxes the gluten, making the dough easier to work with.
- Even Rolling: Aim for even thickness when rolling out your chapatis. Uneven chapatis cook unevenly, affecting their texture.
- Hot Tawa: Ensure your tawa or skillet is properly heated before cooking the chapatis. A hot tawa cooks the chapatis quickly, preventing them from drying out and becoming hard.
Chapati Recipe Making as a Family Activity
Bringing the family together in the kitchen to make chapatis can turn meal preparation into a fun and engaging activity. It’s a wonderful way to introduce children to cooking and the joys of creating something with their own hands. Rolling out chapatis can be a playful challenge, and cooking them on the tawa brings immediate rewards as they puff up, ready to be enjoyed.
This shared experience not only fosters a sense of accomplishment but also strengthens family bonds over the shared joy of cooking and eating together. Plus, it’s an excellent opportunity to pass down culinary skills and traditions to the younger generation, keeping the cultural heritage alive.
FAQ
What is the secret to making soft chapatis?
What is the difference between a chapati and a roti?
Which flour is best for chapati?
How to make chapati at home?
Conclusion
Embarking on the chapati-making journey is a delightful exploration of culinary tradition, bringing together the simplicity of ingredients and the joy of cooking. Whether you’re a novice in the kitchen or a seasoned chef, the art of making chapatis offers a rewarding experience, blending nutrition, taste, and the warmth of shared meals. With the tips, techniques, and FAQs covered in this guide, you’re well-equipped to create soft, fluffy chapatis that will impress your loved ones and add a touch of homemade goodness to your meals. Remember, the key to perfect chapatis lies in practice and patience, so don’t hesitate to experiment and enjoy the process. Happy cooking!
3 thoughts on “7 Secrets to Perfect Chapatis Every Time: Master the Art of Indian Flatbread”